
Are you curious about how network tools like a Port scanner in Python work behind the scenes? Maybe you’ve heard of port scanners like Nmap and wondered how they function or better yet, how you could build one yourself. If you’re learning Python or diving into cybersecurity, creating your own port scanner is a hands-on way to understand network behaviour, strengthen your programming skills, and sharpen your security awareness.
This guide will walk you through how to build a basic yet functional port scanner using Python. It’s beginner-friendly, doesn’t require advanced coding skills, and helps you understand key networking principles along the way.
What Is a Port Scanner and Why Build One?
A port scanner in python is a tool that scans a target computer or server to see which network ports are open. Open ports are essentially doors through which data can enter or leave a system. Each port corresponds to a specific service—for example, port 80 is commonly used for HTTP (web traffic), while port 22 is for SSH (remote login).
Why should you build your own port scanner?
- You’ll understand how scanning tools work under the hood.
- It’s a practical Python project you can build and improve.
- Great for security testing in a home lab or sandbox environment.
Let’s dig in!
Tools You Need Before You Start
To follow this tutorial, you’ll need:
- Python 3 (most systems come with it pre-installed)
- A text editor like VS Code, Sublime Text, or PyCharm
- Basic knowledge of Python syntax
- Terminal/command-line access
You can install Python from python.org if you haven’t already.
Understanding How the Port Scanner Works
Before jumping into code, let’s quickly outline what your scanner will do:
- Accept a target (hostname or IP address).
- Attempt to connect to a range of ports (typically 1 to 1023).
- Report which ports are open.
- Handle errors gracefully (like when you press Ctrl+C to cancel).
Writing the Port Scanner in Python (Step-by-Step)
Let’s break the code into parts for easier understanding.
Step 1: Import Required Modules
These modules allow us to handle network connections, system commands, and timestamps.
import socket
import sys
from datetime import datetime
socket: For network connectionssys: To accept user input from the command linedatetime: To track when the scan starts
Step 2: Accept the Target Address
Use command-line arguments to get the target IP or hostname.
if len(sys.argv) == 2:
    target = socket.gethostbyname(sys.argv[1])
else:
    print("Usage: python3 scanner.py <hostname or IP>")
    sys.exit()
Tip: Always use IP addresses in real-world scans to avoid DNS resolution errors.
Step 3: Print Scan Information
This makes the script feel professional and readable.
print("=" * 50)
print(f"Scanning Target: {target}")
print(f"Scan Started At: {datetime.now()}")
print("=" * 50)
Step 4: Perform the Port Scan
Now comes the main logic.
try:
    for port in range(1, 1025):
        s = socket.socket(socket.AF_INET, socket.SOCK_STREAM)
        socket.setdefaulttimeout(0.5)  # Adjust for speed
        result = s.connect_ex((target, port))
        if result == 0:
            print(f"Port {port} is OPEN")
        s.close()
This loop:
- Iterates over ports 1 to 1024 (well-known ports)
- Checks if a connection to each port is successful
- Reports open ports
Step 5: Handle Interruptions
A clean exit when a user hits Ctrl+C is good practice.
except KeyboardInterrupt:
    print("\nScan interrupted by user.")
    sys.exit()

except socket.gaierror:
    print("\nHostname could not be resolved.")
    sys.exit()

except socket.error:
    print("\nCould not connect to server.")
    sys.exit()
Real-World Use Case Example
Imagine you’re a network administrator. You suspect one of the office devices is running unexpected services. Rather than install a bulky tool, you run:
python3 scanner.py 192.168.1.15
You quickly find port 21 (FTP) open on a device that shouldn’t be sharing files. This is a red flag—and you discovered it with your own tool!
Comparison With Nmap
| Feature | Your Python Scanner | Nmap |
|---|---|---|
| Simplicity | ✔ Easy to understand | ❌ Complex syntax |
| Customizable | ✔ Modify as you wish | ✔ Extensive options |
| Speed | ❌ Slower | ✔ Highly optimized |
| GUI Available | ❌ Terminal only | ✔ Zenmap GUI optional |
| Learning Value | ✔ Great for Python practice | ❌ Less about programming |
While Nmap is more powerful, your Python tool gives you a learning advantage and flexibility.
Ideas to Improve Your Port Scanner
Once your basic scanner is working, here are a few ways to enhance it:
1. Multithreading for Speed
Use Python’s threading module to scan multiple ports simultaneously.
2. Scan Specific Port Lists
Allow users to enter custom port ranges or lists (e.g., 22, 80, 443).
3. Save Results to File
Log the output to a .txt file for future reference.
with open("scan_results.txt", "a") as file:
    file.write(f"Port {port} is OPEN\n")
4. Add a Banner
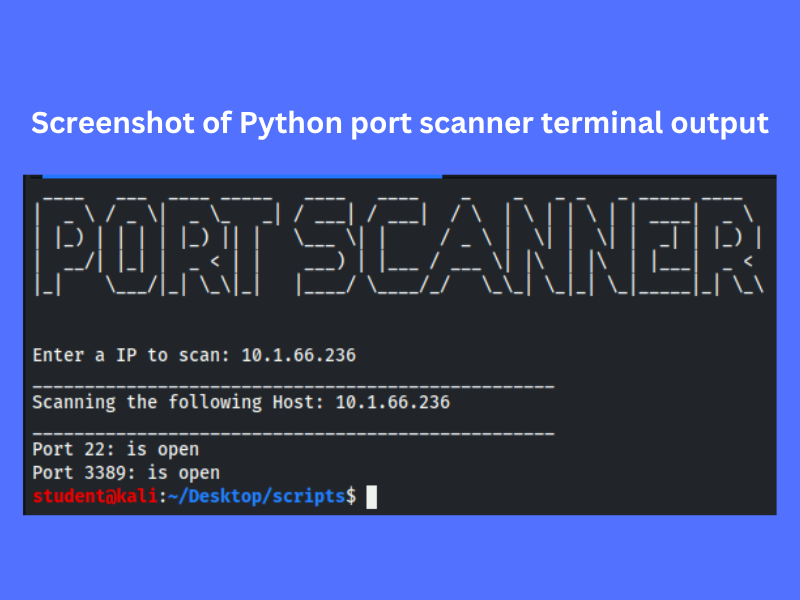
Use pyfiglet to display a fancy ASCII title when the script runs.
Ethical Reminder
Use responsibly!
Scanning systems without permission is illegal and unethical. Only scan networks or devices you own or have been explicitly authorized to test.
FAQ
What is a Python port scanner?
Is it legal to use a Python port scanner?
Do I need to install any special libraries to build a Python port scanner?
socket and sys modules. However, you can enhance your tool with libraries like threading for performance or pyfiglet for UI design.How many ports should I scan with my Python script?
Can I use my Python port scanner for ethical hacking?
How do I improve the performance of my Python port scanner?
threading module. This allows the script to scan multiple ports simultaneously.Can I scan domain names instead of IP addresses?
socket.gethostbyname(). However, scanning IP addresses directly is more reliable, especially on local or private networks.How do I save the scan results to a file?
with open() function to write results to a .txt file during the scan. This is useful for auditing or documenting scan activity.Final Thoughts
Creating your own port scanner in Python is not only fun—it’s educational. You learn how network sockets work, how to handle exceptions, and how to build real cybersecurity tools from scratch. It also opens the door to more advanced concepts like packet crafting, vulnerability detection, or network mapping.
Whether you’re a Python learner, IT student, or budding cybersecurity analyst, this project gives you hands-on experience that books and theory simply can’t match.
Want more beginner-friendly Python security tools? Bookmark CyberSavvyHints.com and stay updated!
Leave a Reply